Skip to content
  • back
  • Glasshouse help

  • Glasshouse help
  • How Glasshouse is organised
    • Page types
    • Tabs
  • The basics
    • Creating pages
    • Adding and formatting content
    • Adding images
    • Managing files
    • Adding and managing users
    • Managing pages
  • Building learning sequences
    • Adding a sequence page
    • Adding a basic content block
    • Block types
      • Assignment block
      • Branching scenarios
      • Button
      • Cloze tests
      • Complex Feedback
      • Drag and Drop
      • xAPI forms
      • xAPI form display
      • Hotspot
      • Layout blocks
      • MCQ Buttons
      • MCQ - Drop down
      • MCQ - Range Slider
      • Short answer
      • Tables
      • Wiki
      • Sticky blocks
    • Front end editing
    • Adding media
    • Adding pop-ups
      • Adding blocks to pop-ups
    • Adding navigation
    • Completion Setting
  • Integration and export
    • Export SCORM
    • Adding a completion button
    • Setting up an LTI Integration
    • Single Sign On
    • Launch other sites
    • Export content in a simplified version
  • Other things you can do
    • Content curation with Glasshouse
    • Building spaced learning
    • Building interactive videos
    • Building an assessment
    • Building a handbook
    • Setting up a registrations page
      • Adding custom fields
    • Changing the visual design
      • Changing the login page
      • Changing site and page logos
      • Changing the navigation style
    • Building a dashboard
    • Certificates
    • Building workflows
    • Adding managers and buddies
    • Javascript actions
    • Shortcode
    • Using Glasshouse as a lite Learning Management System (LMS)
    • Restricted Navigation
    • Checklist
    • Group Rules
    • Text to Speech
    • Assignment Feature
    • Snippets

Snippets

Overview

In Glasshouse, Snippets are a feature that allows content to be reused easily in any editor field. Instructions to learners,any prompts or feedback can be referenced as a snippet.

How to create a Snippet
  1. Start in the Settings on the left side menu
  2. On the taskbar select Snippets
  3. Click on Add Snippet
  4. You will then be routed to the page where you can customise your reusable content, type the name of the snippet you want in the Title
  5. A Snippet ID serves as your reference code, you can select Create one for me which allows the system to generate the code based on the title you have input. You can also select I’ll create my own, and then in the Snippet ID text bar, type the ID you want to use when referencing the snippet
  6. On the content box below,provide the content you want to add.
  7. Click Create and close or optionally just create so you can immediately copy the Snippet ID.
  8. Go back to the Snippet menu and you will then see the snippet you just created, with the title and the Snippet ID
  9. When you want to edit or delete the snippet click on the three dots (ellipsis) and click Edit or Delete
How to reference a Snippet in a content field
  1. Go to the Settings and on the task bar select Snippets
  2. Click on the title of the Snippet which you want to use
  3. Click the Copy button at the end of the Snippet ID 
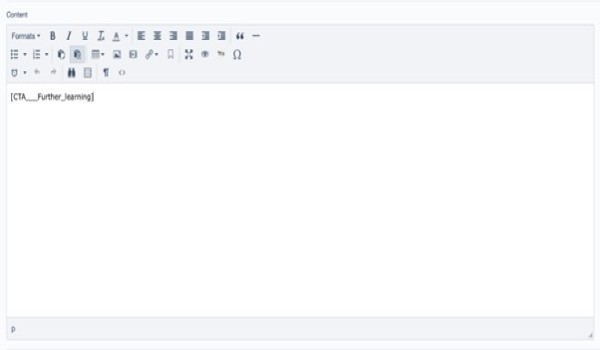
  4. Now you have the snippet ID, head back to the content you wish to embed it in and simply paste it either in the editor directly or in the HTML source. Snippets will only work in editor fields which can be identified by their toolbar as shown below:

    snippetfield

  5. Click Save or Publish